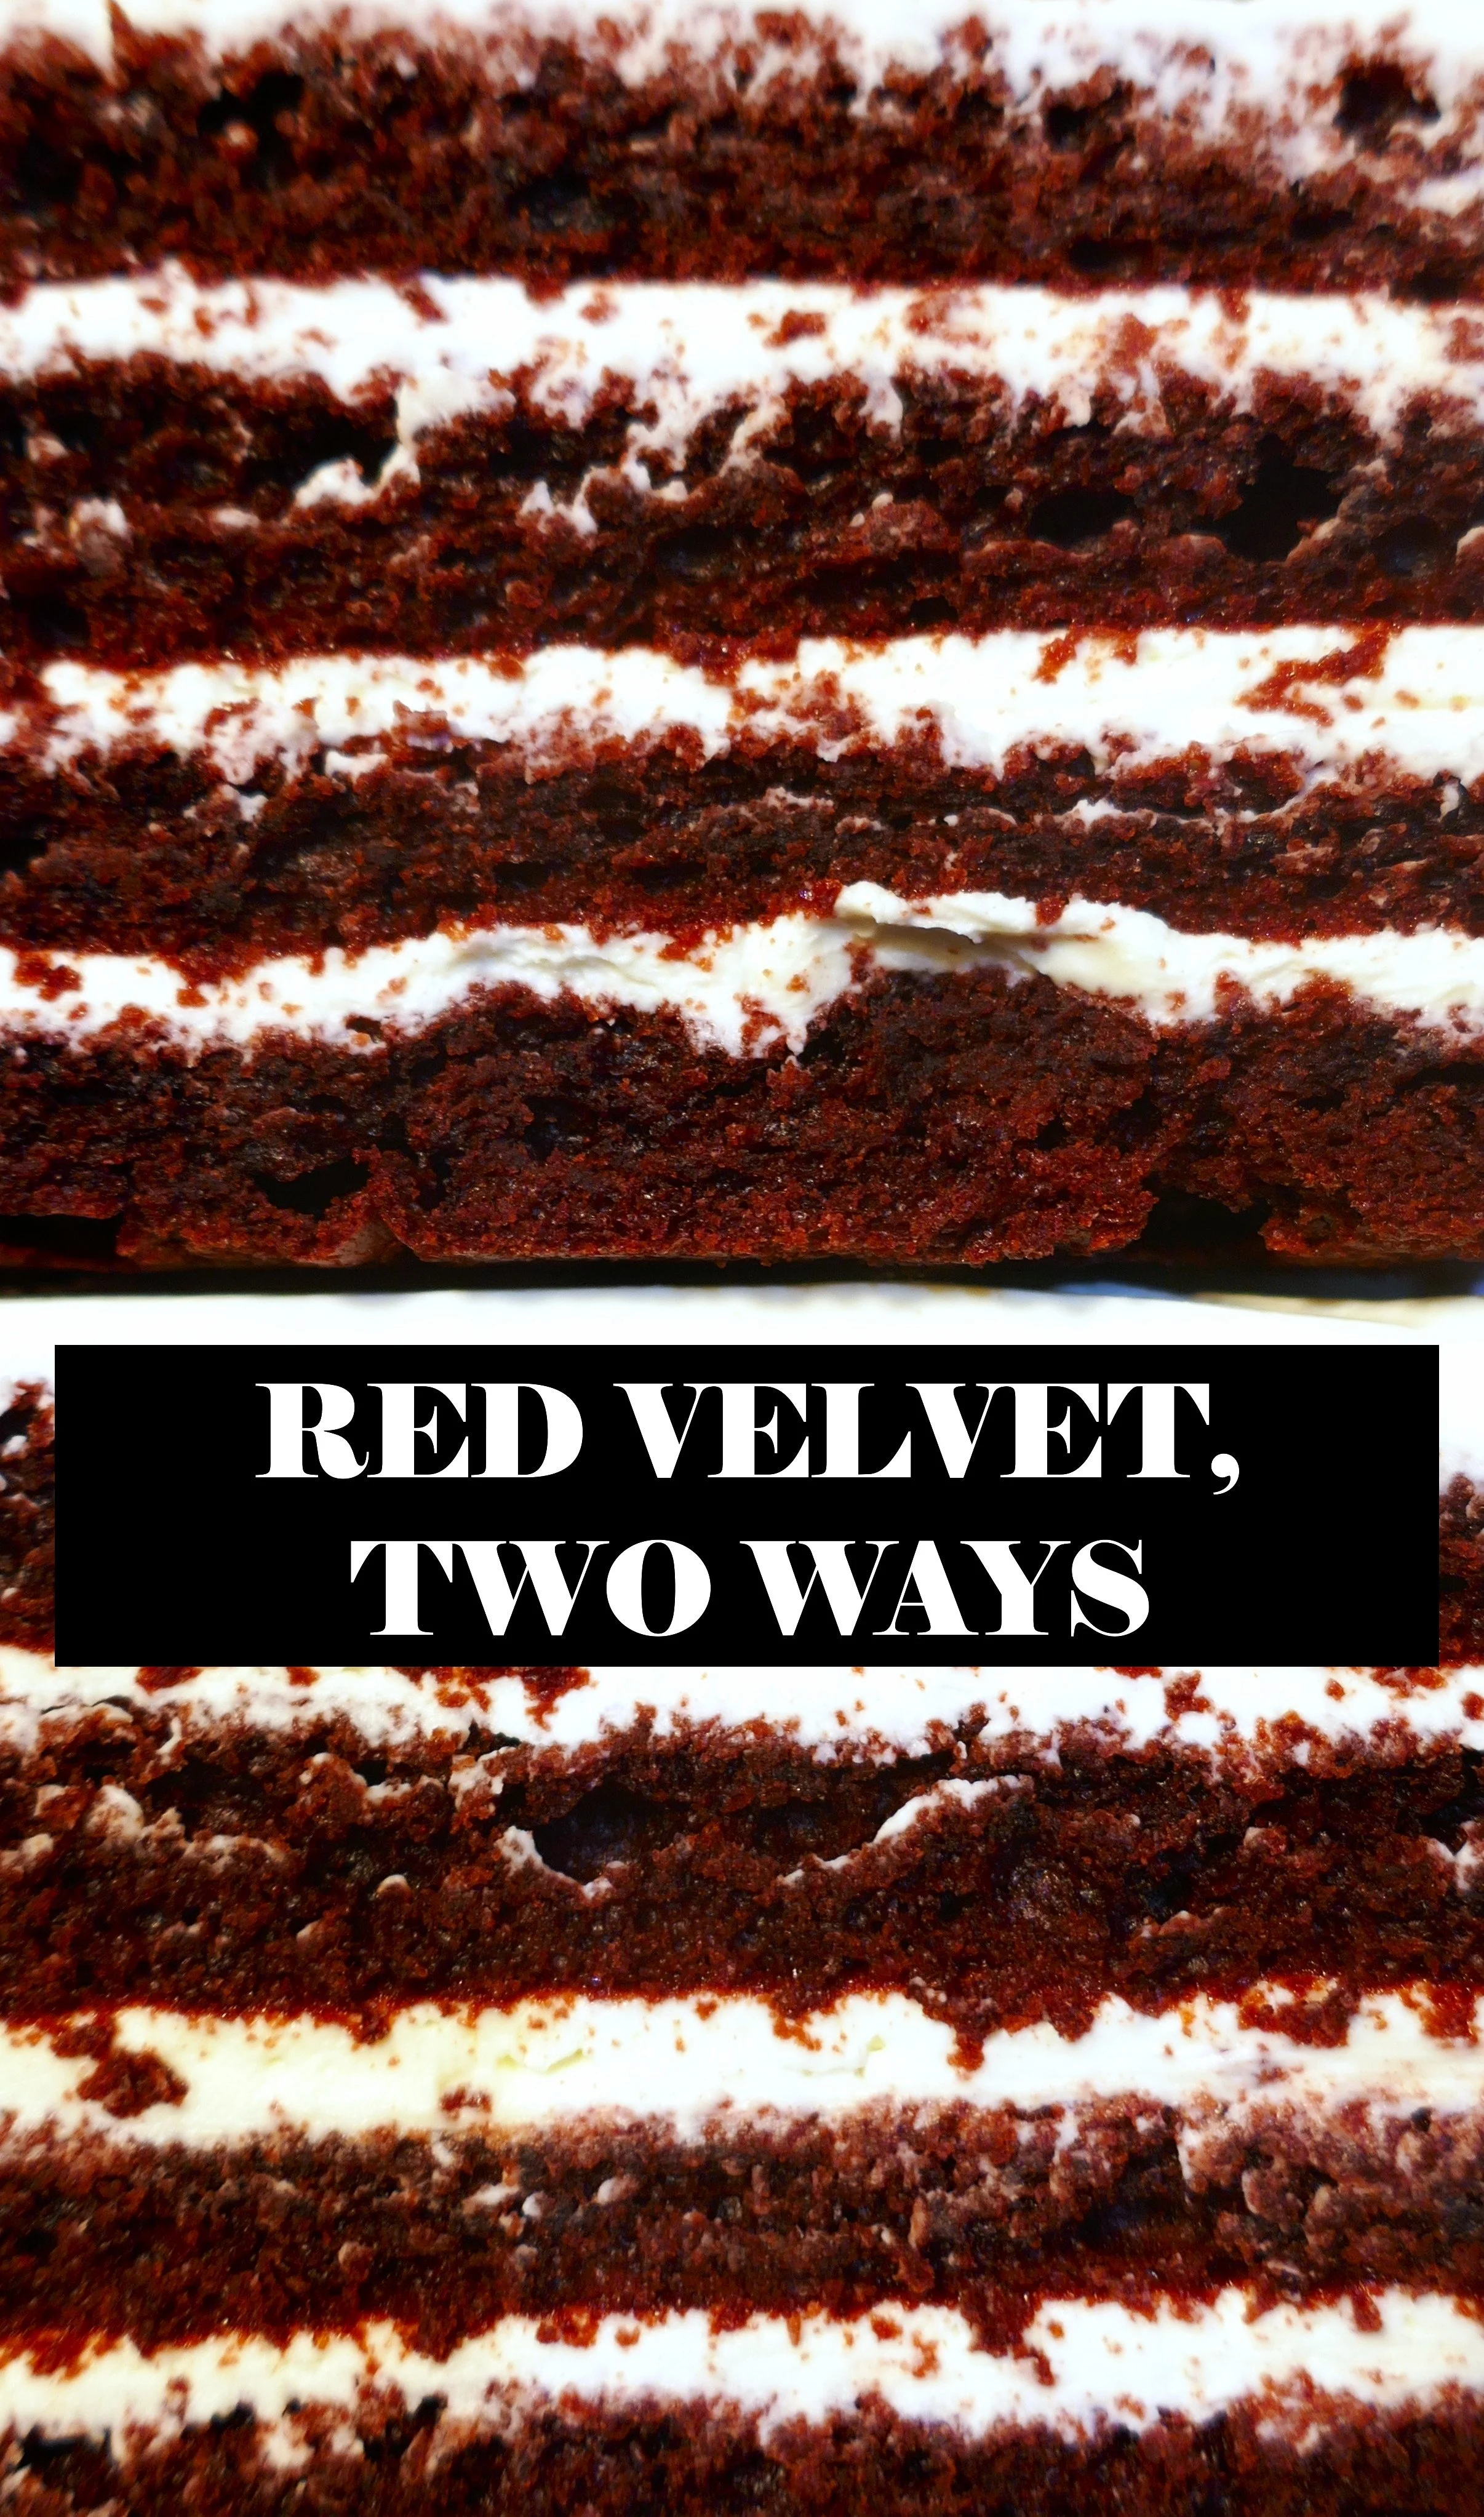
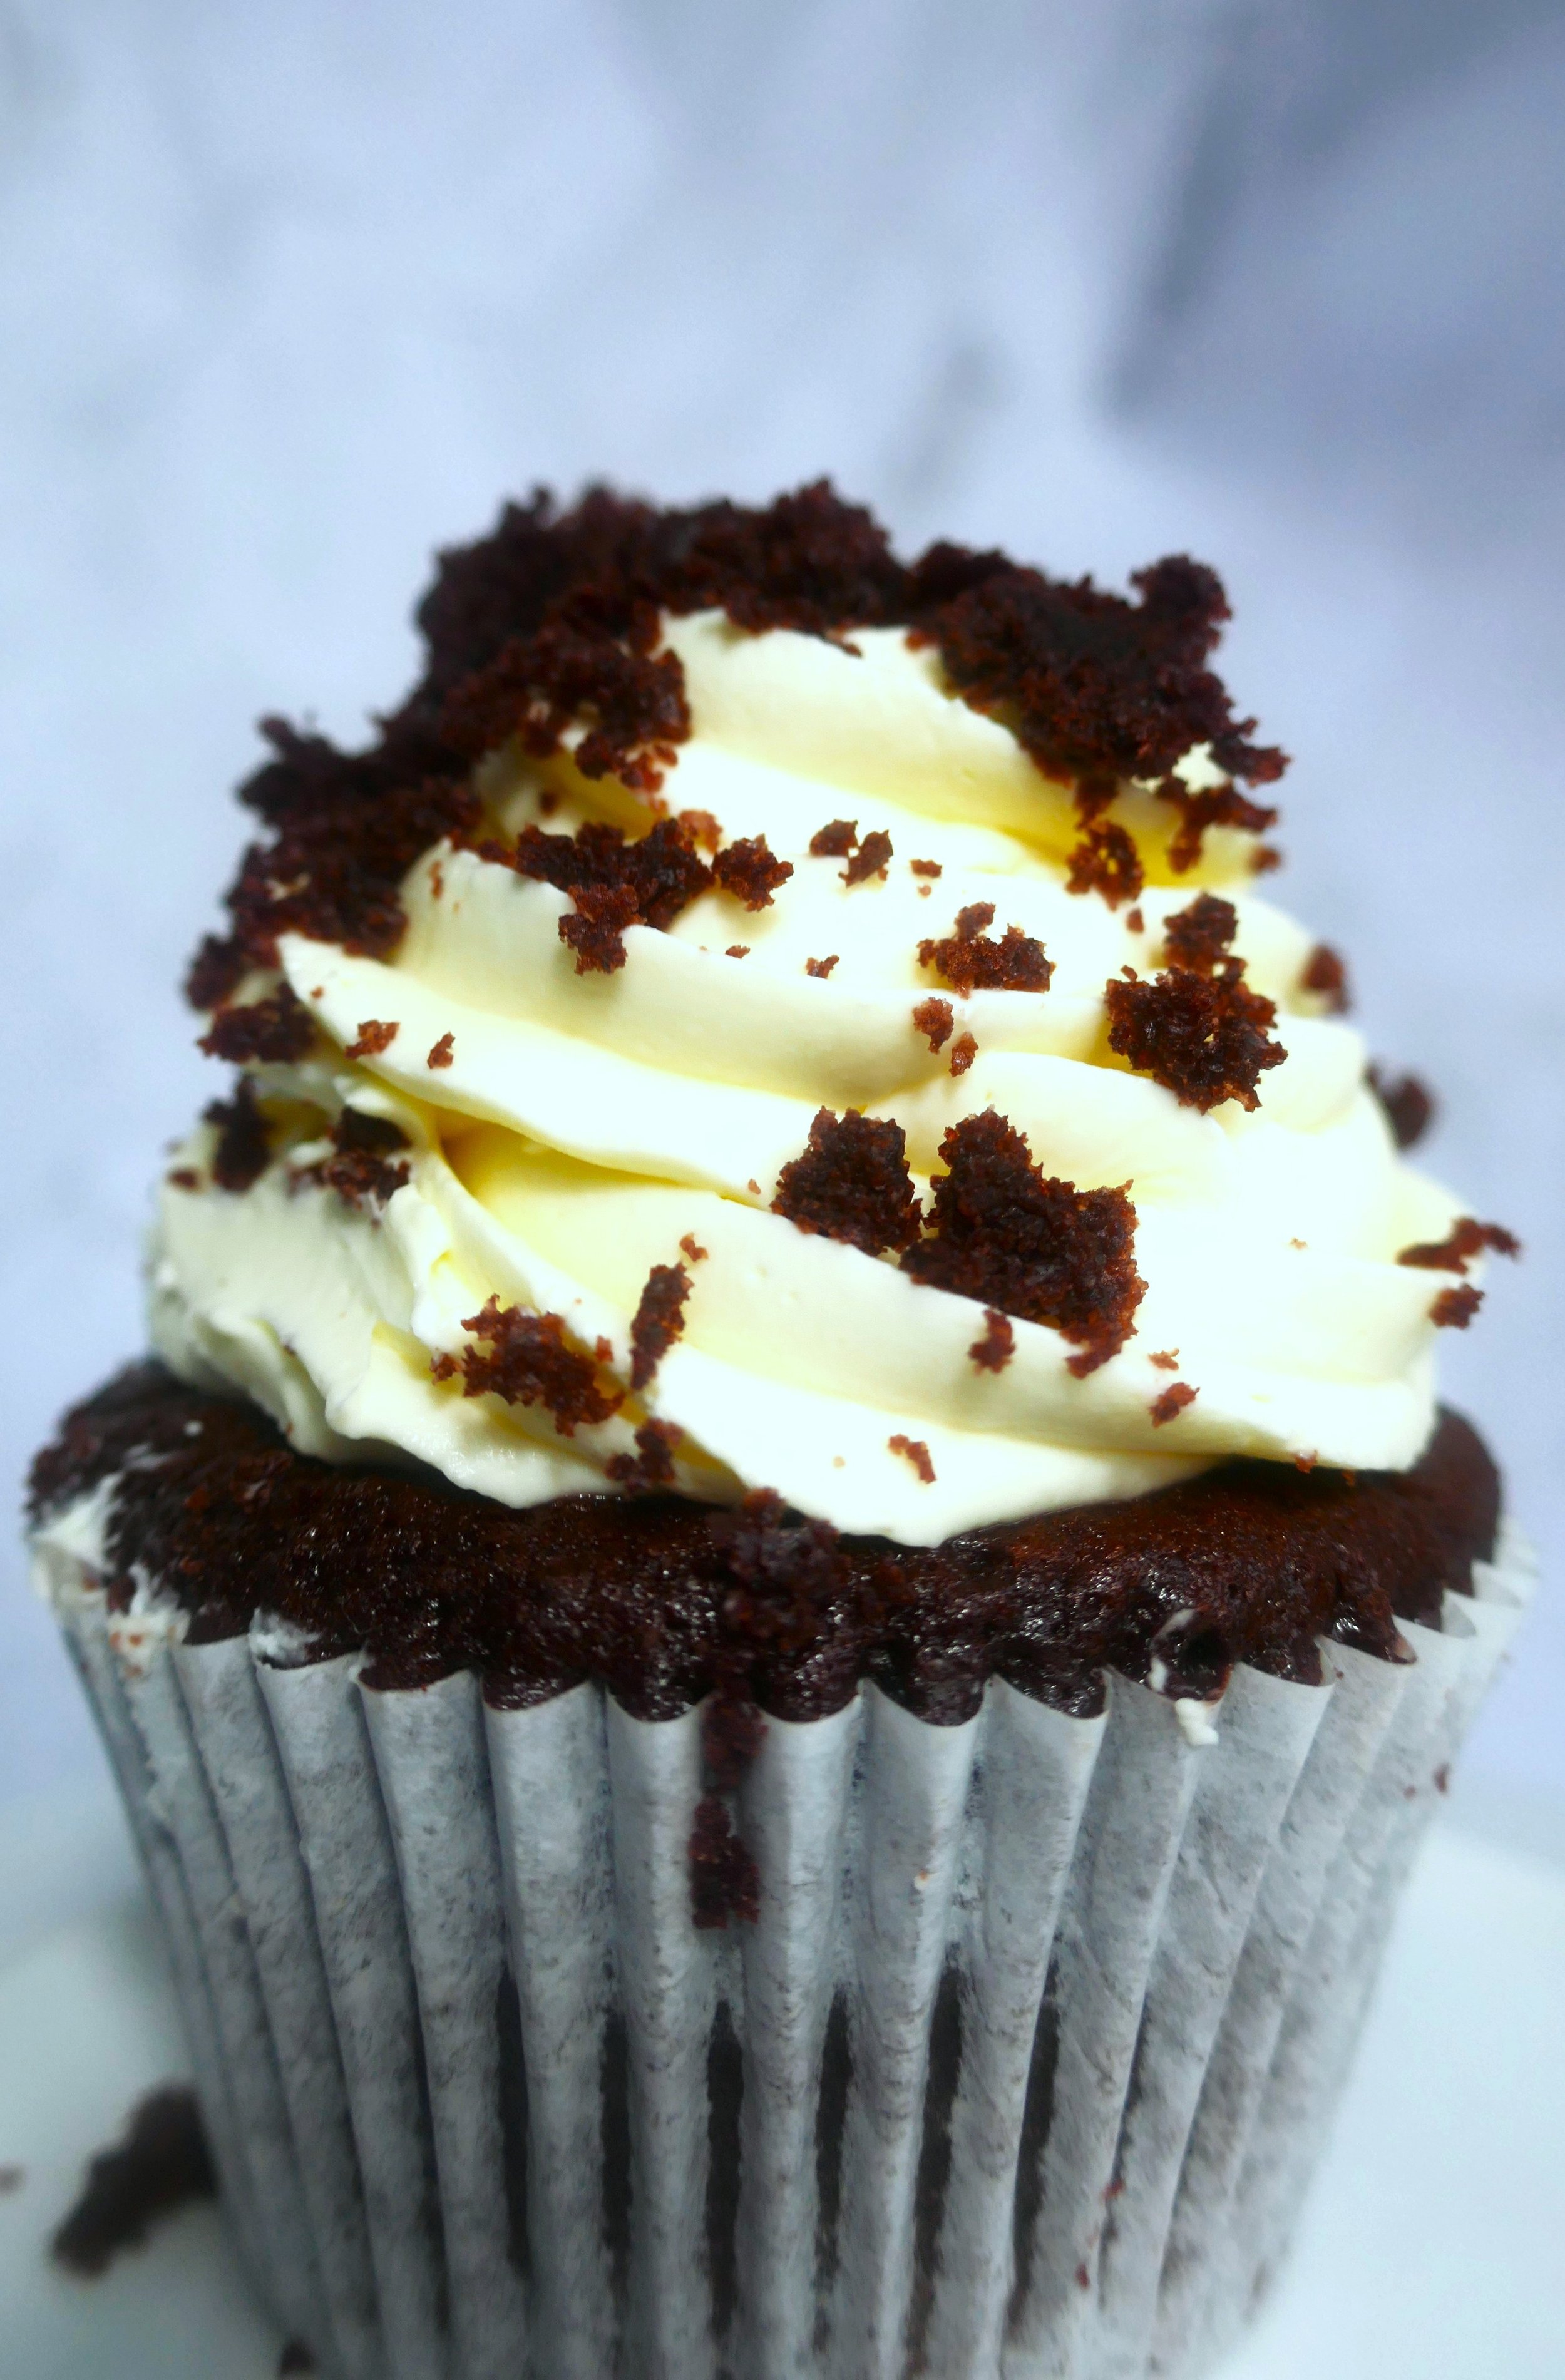
The iconic Red Velvet cake is another example of ‘cakes I used to hate but have now accepted’ mainly owing to the dependence on nasty scary red food colouring, my purists’ sentiments have been replaced with a level of admittance that I do quite enjoy it.
RECIPE:
RED VELVET SPONGE
120g UNSALTED BUTTER (Room Temperature)
300g CASTER SUGAR
2 MEDIUM WHOLE EGGS
1 TSP RED FOOD COLOURING (look, you’ll probably use half the bottle, just get a natural colour and pour away!)
80ml WATER
1 VANILLA POD
200g CRÉME FRAICHE (Or sour cream, Greek yoghurt or eve buttermilk can be used here)
40ml MILK
12ml WHITE WINE VINEGAR
40g COCOA POWDER
300g PLAIN FLOUR
1 Tsp BICARD POWDER
2 Tsp BAKING POWDER
CREAM CHEESE FROSTING
100g ICING SUGAR (Sieved)
450g CREAM CHEESE
300ml DOUBLE CREAM
BEFORE YOU START…
Preheat your oven to 160c (Fan Oven- 170c for other, less powerful ovens)
METHOD:
FOR THE RED VELVET SPONGE…
Cream the butter and sugar until light and fluffy (it will go quite white here because of the ratio between sugar and butter here)
Gradually add the eggs and food colouring to the butter sugar mixture and mix until thoroughly incorporated (making sure to scrape the bowl to ensure everything is evenly mixed).
Mix all the wet ingredients together until combined (the vinegar will cause the dairy to split but this is no trouble, it thickens the mixture and creates a fudge-like crumb)
Mix the dry ingredients together and add to the butter and sugar mixture, alternating with the liquid, mix until smooth before spreading your mixture across the two lined baking trays. Spread evenly and bake for 10-12 minutes until just cooked and springs back when pushed lightly.
FOR THE CREAM CHEESE FROSTING…
Beat the cream cheese together until the cream cheese has softened. Gradually pour in the double cream and continue to beat together until the mixture whips up and becomes thick.
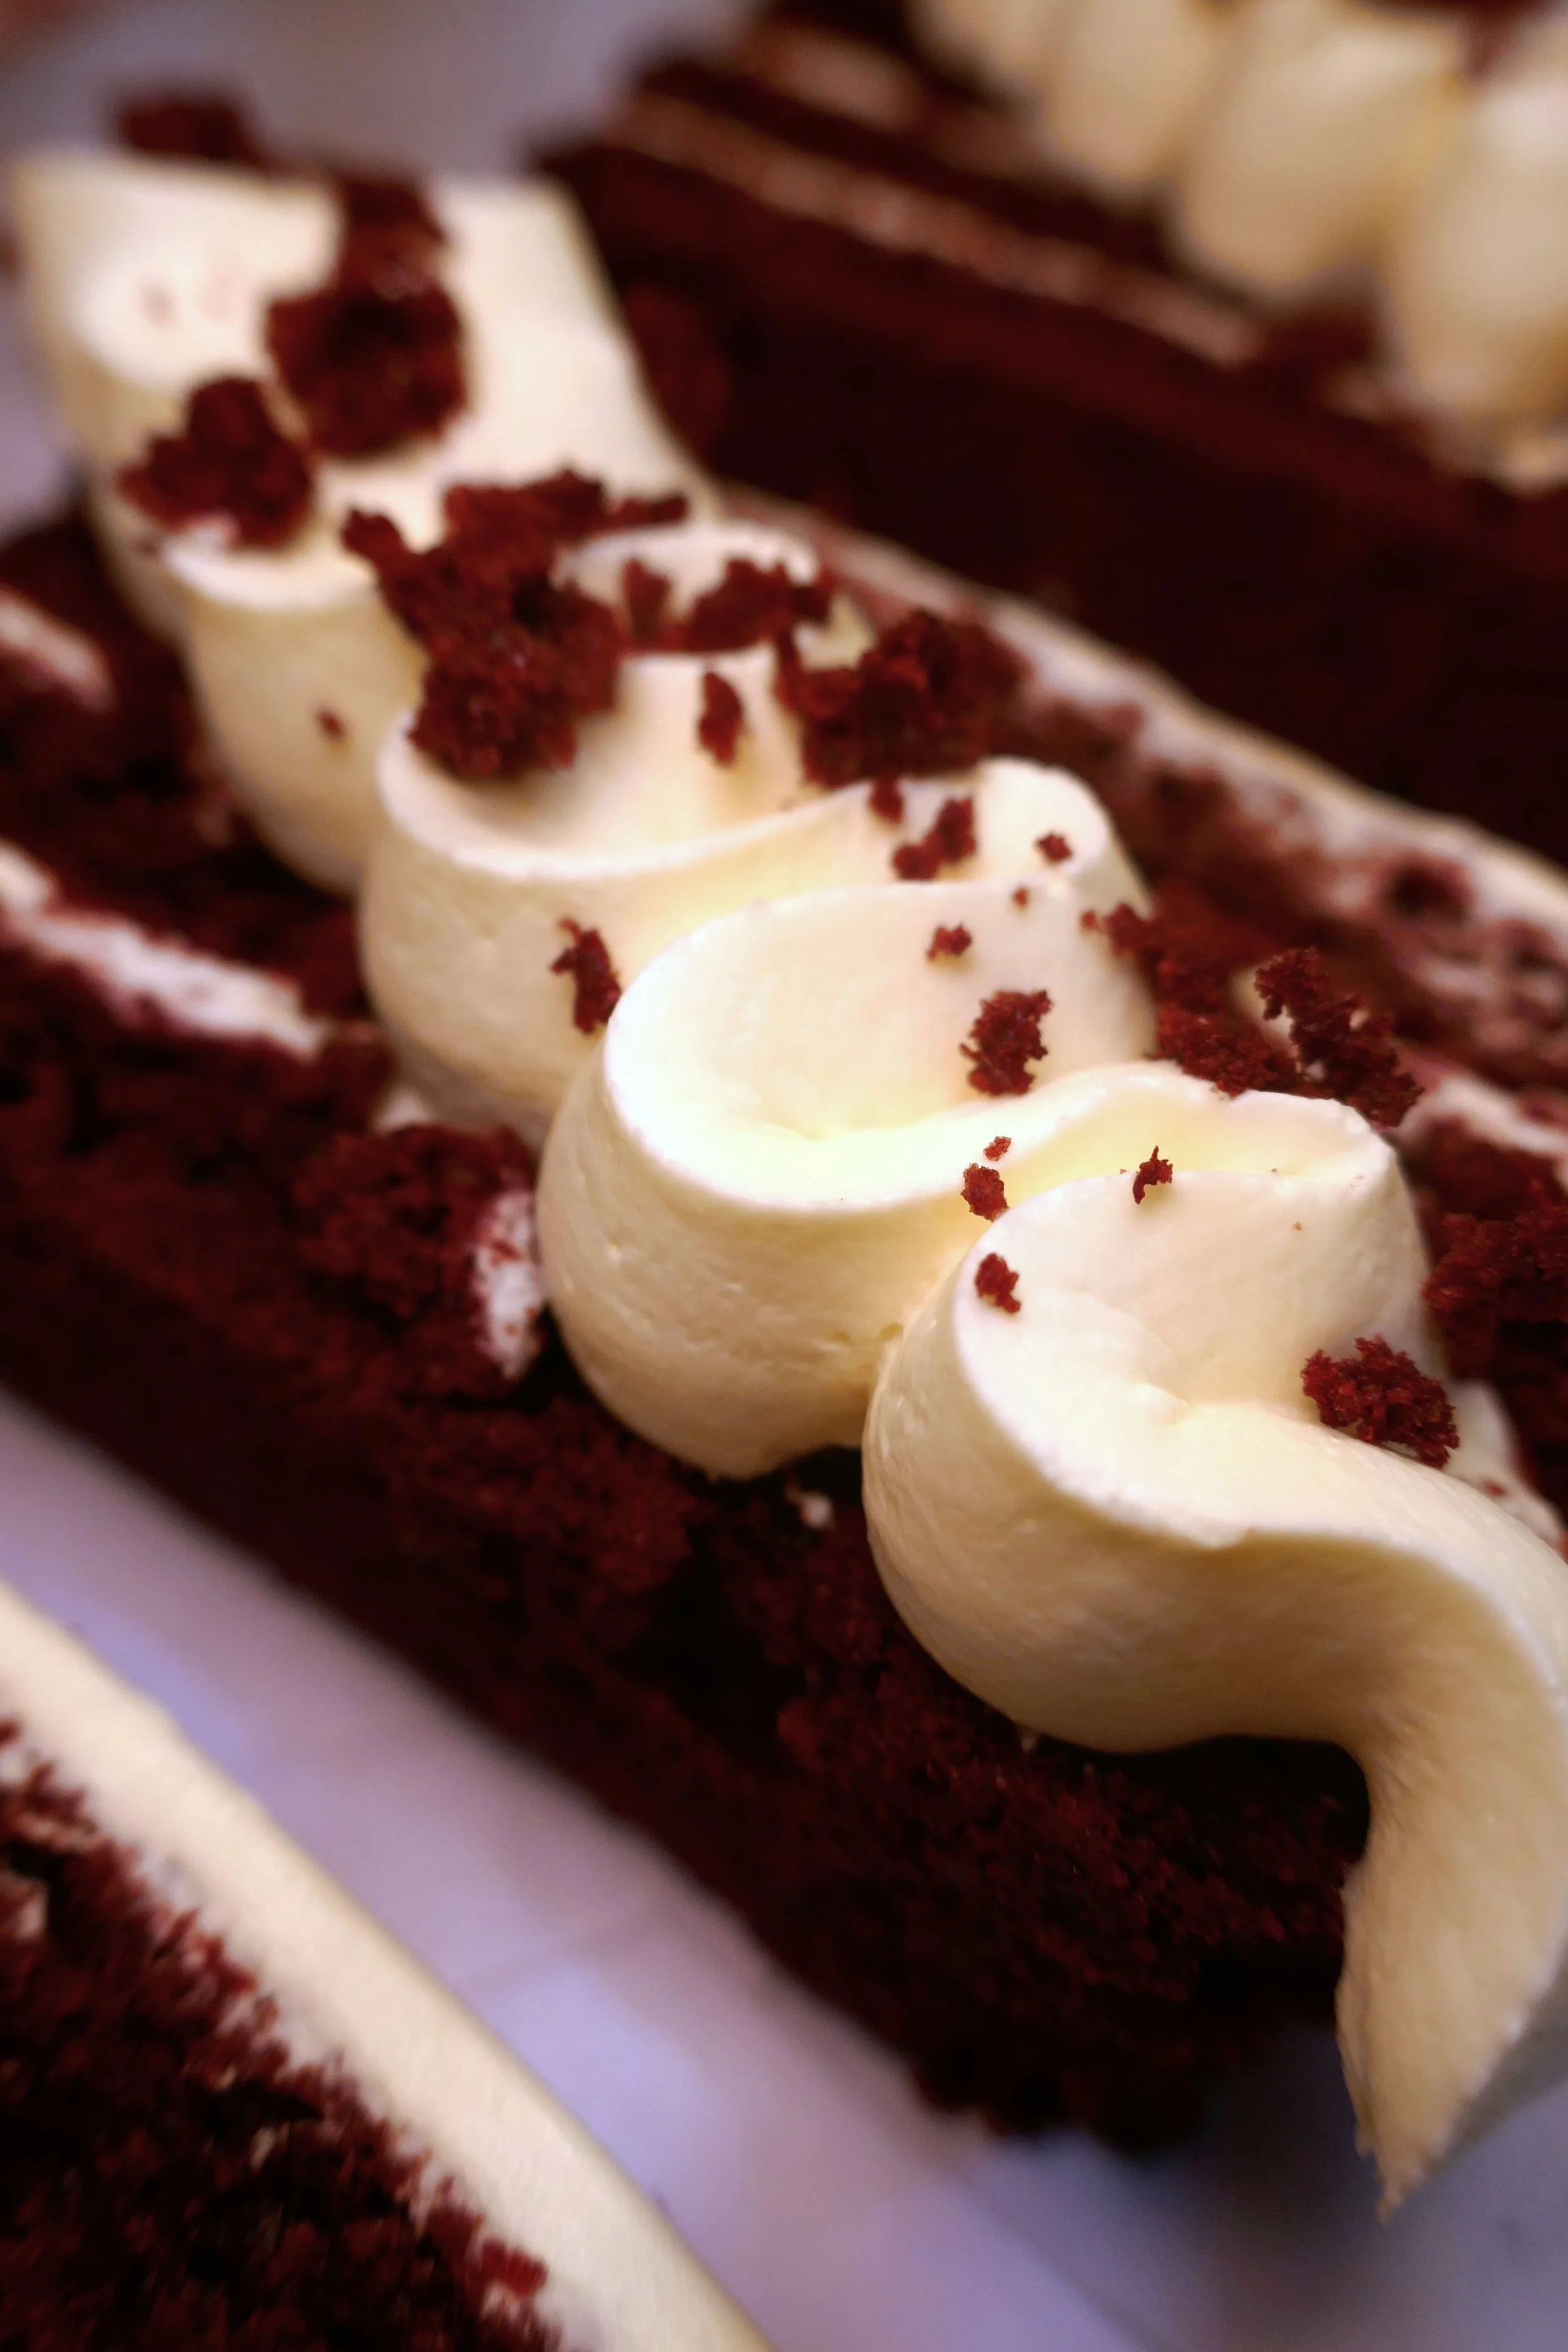
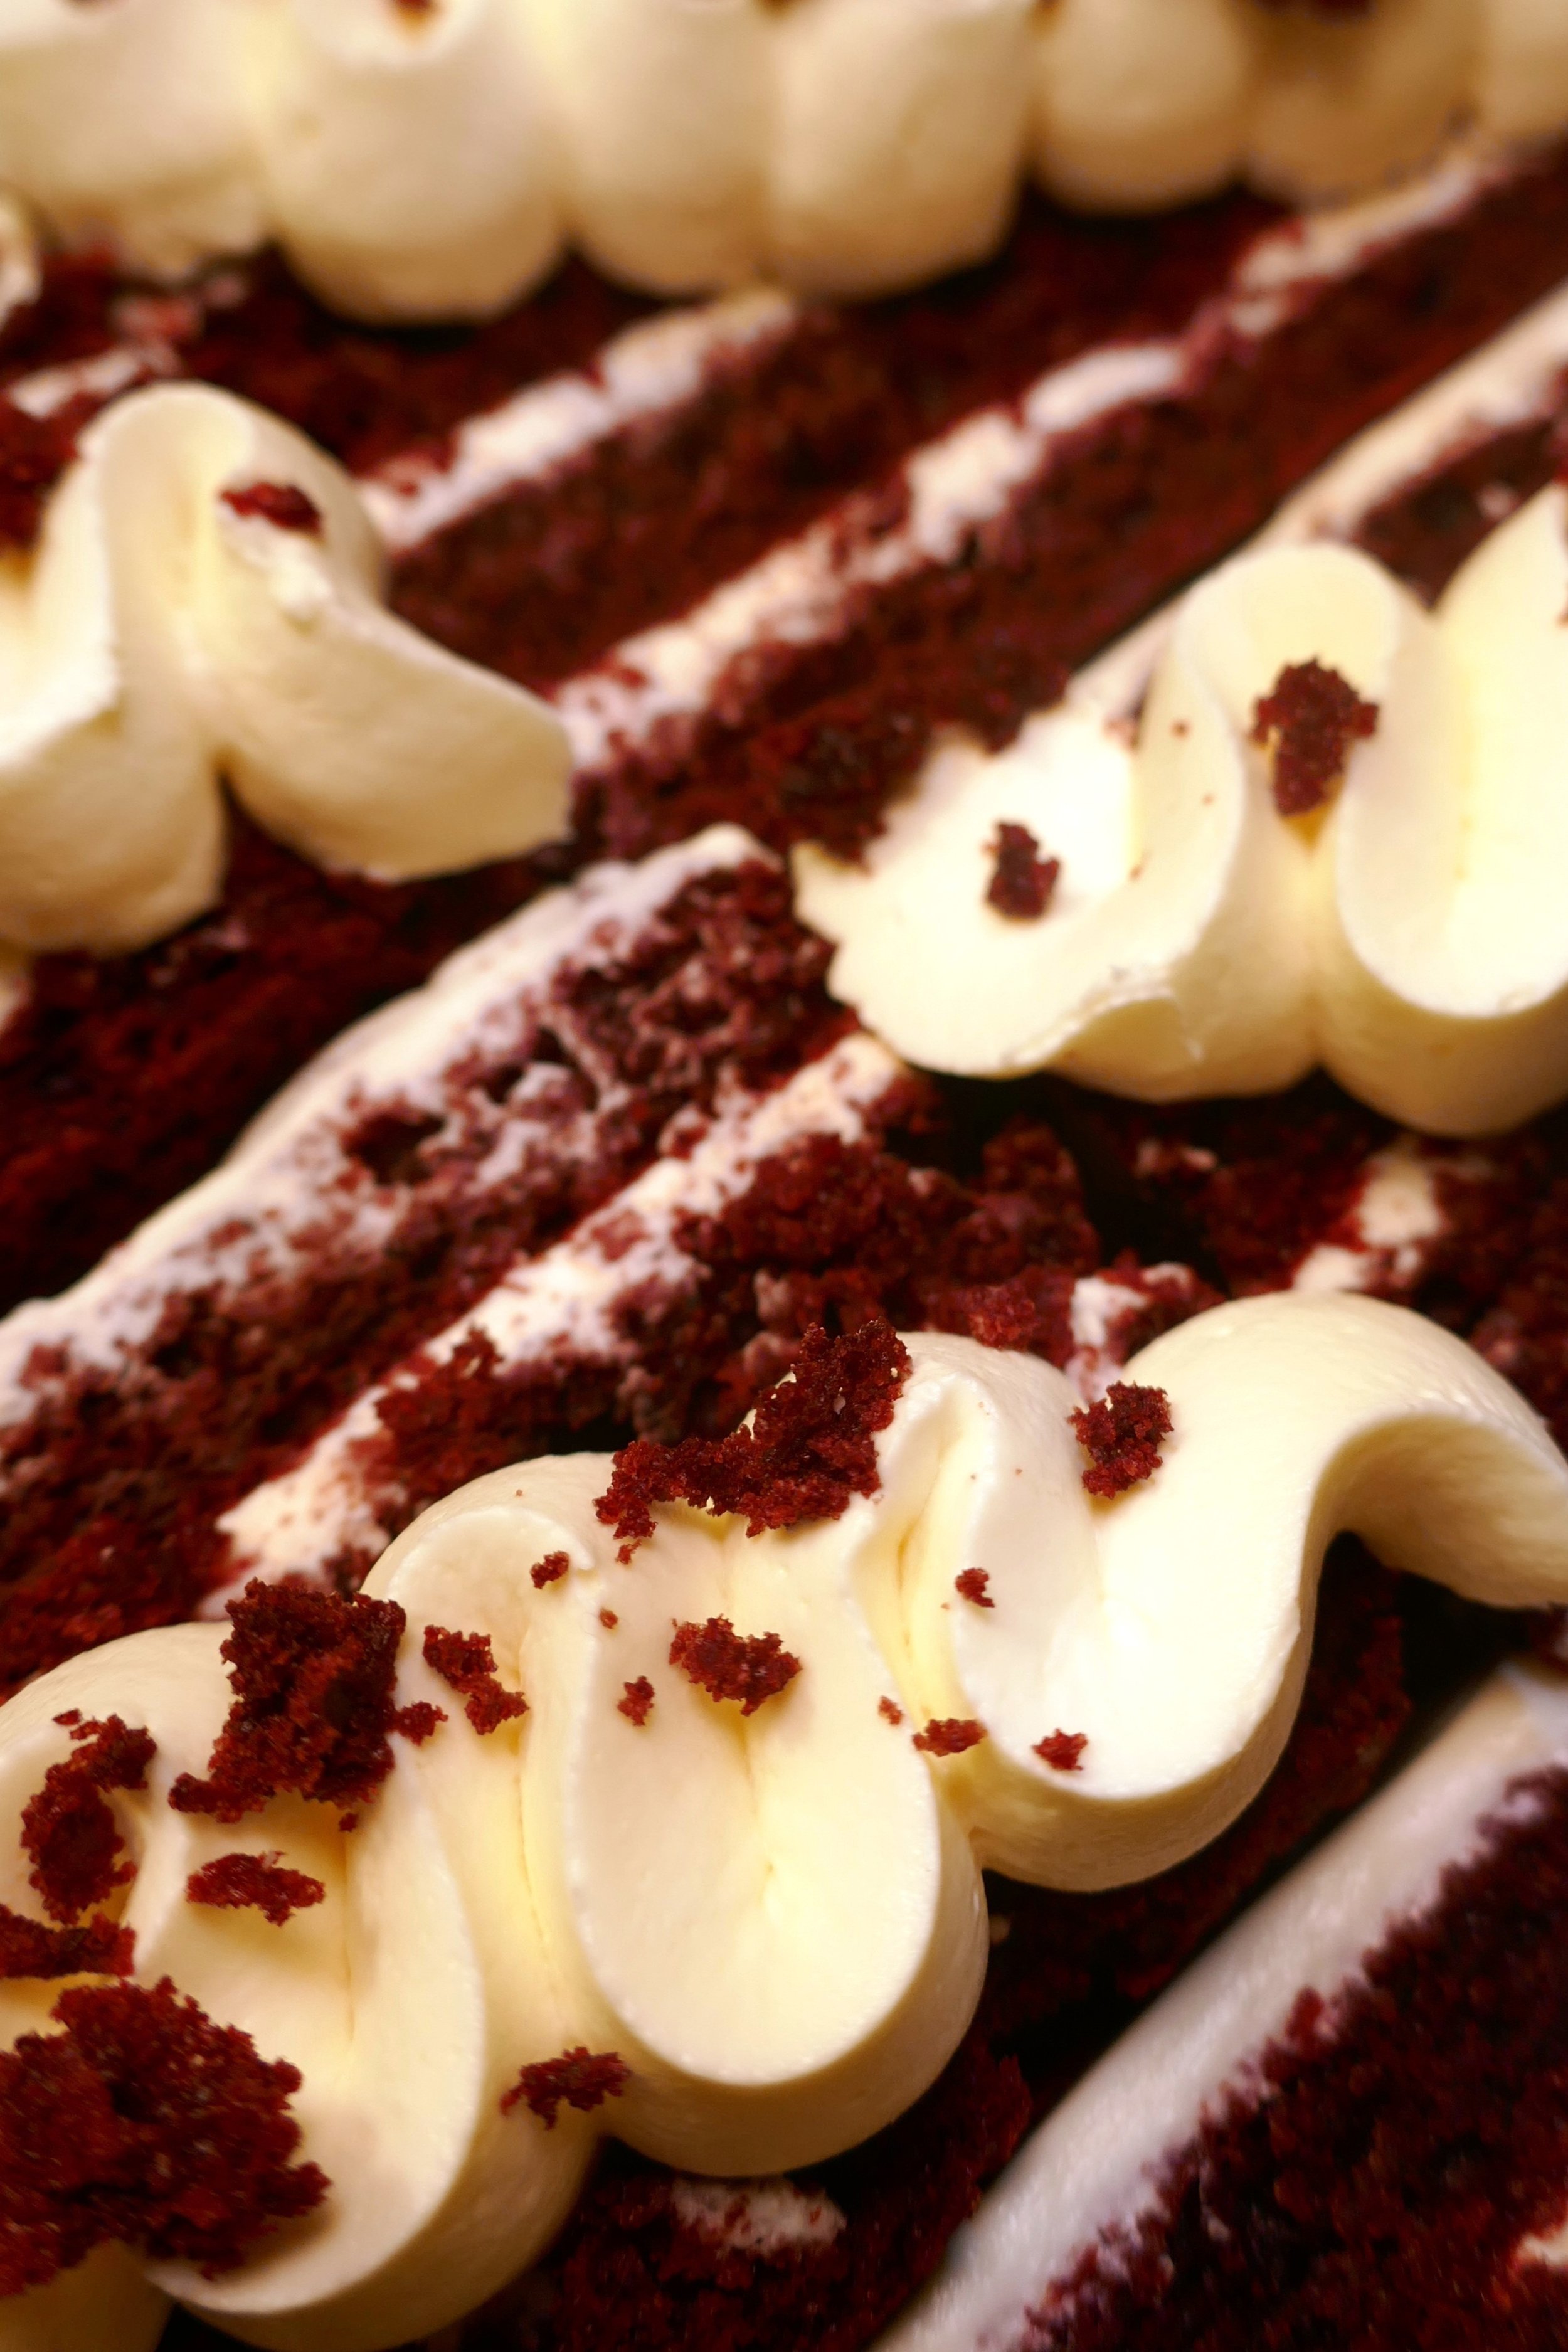
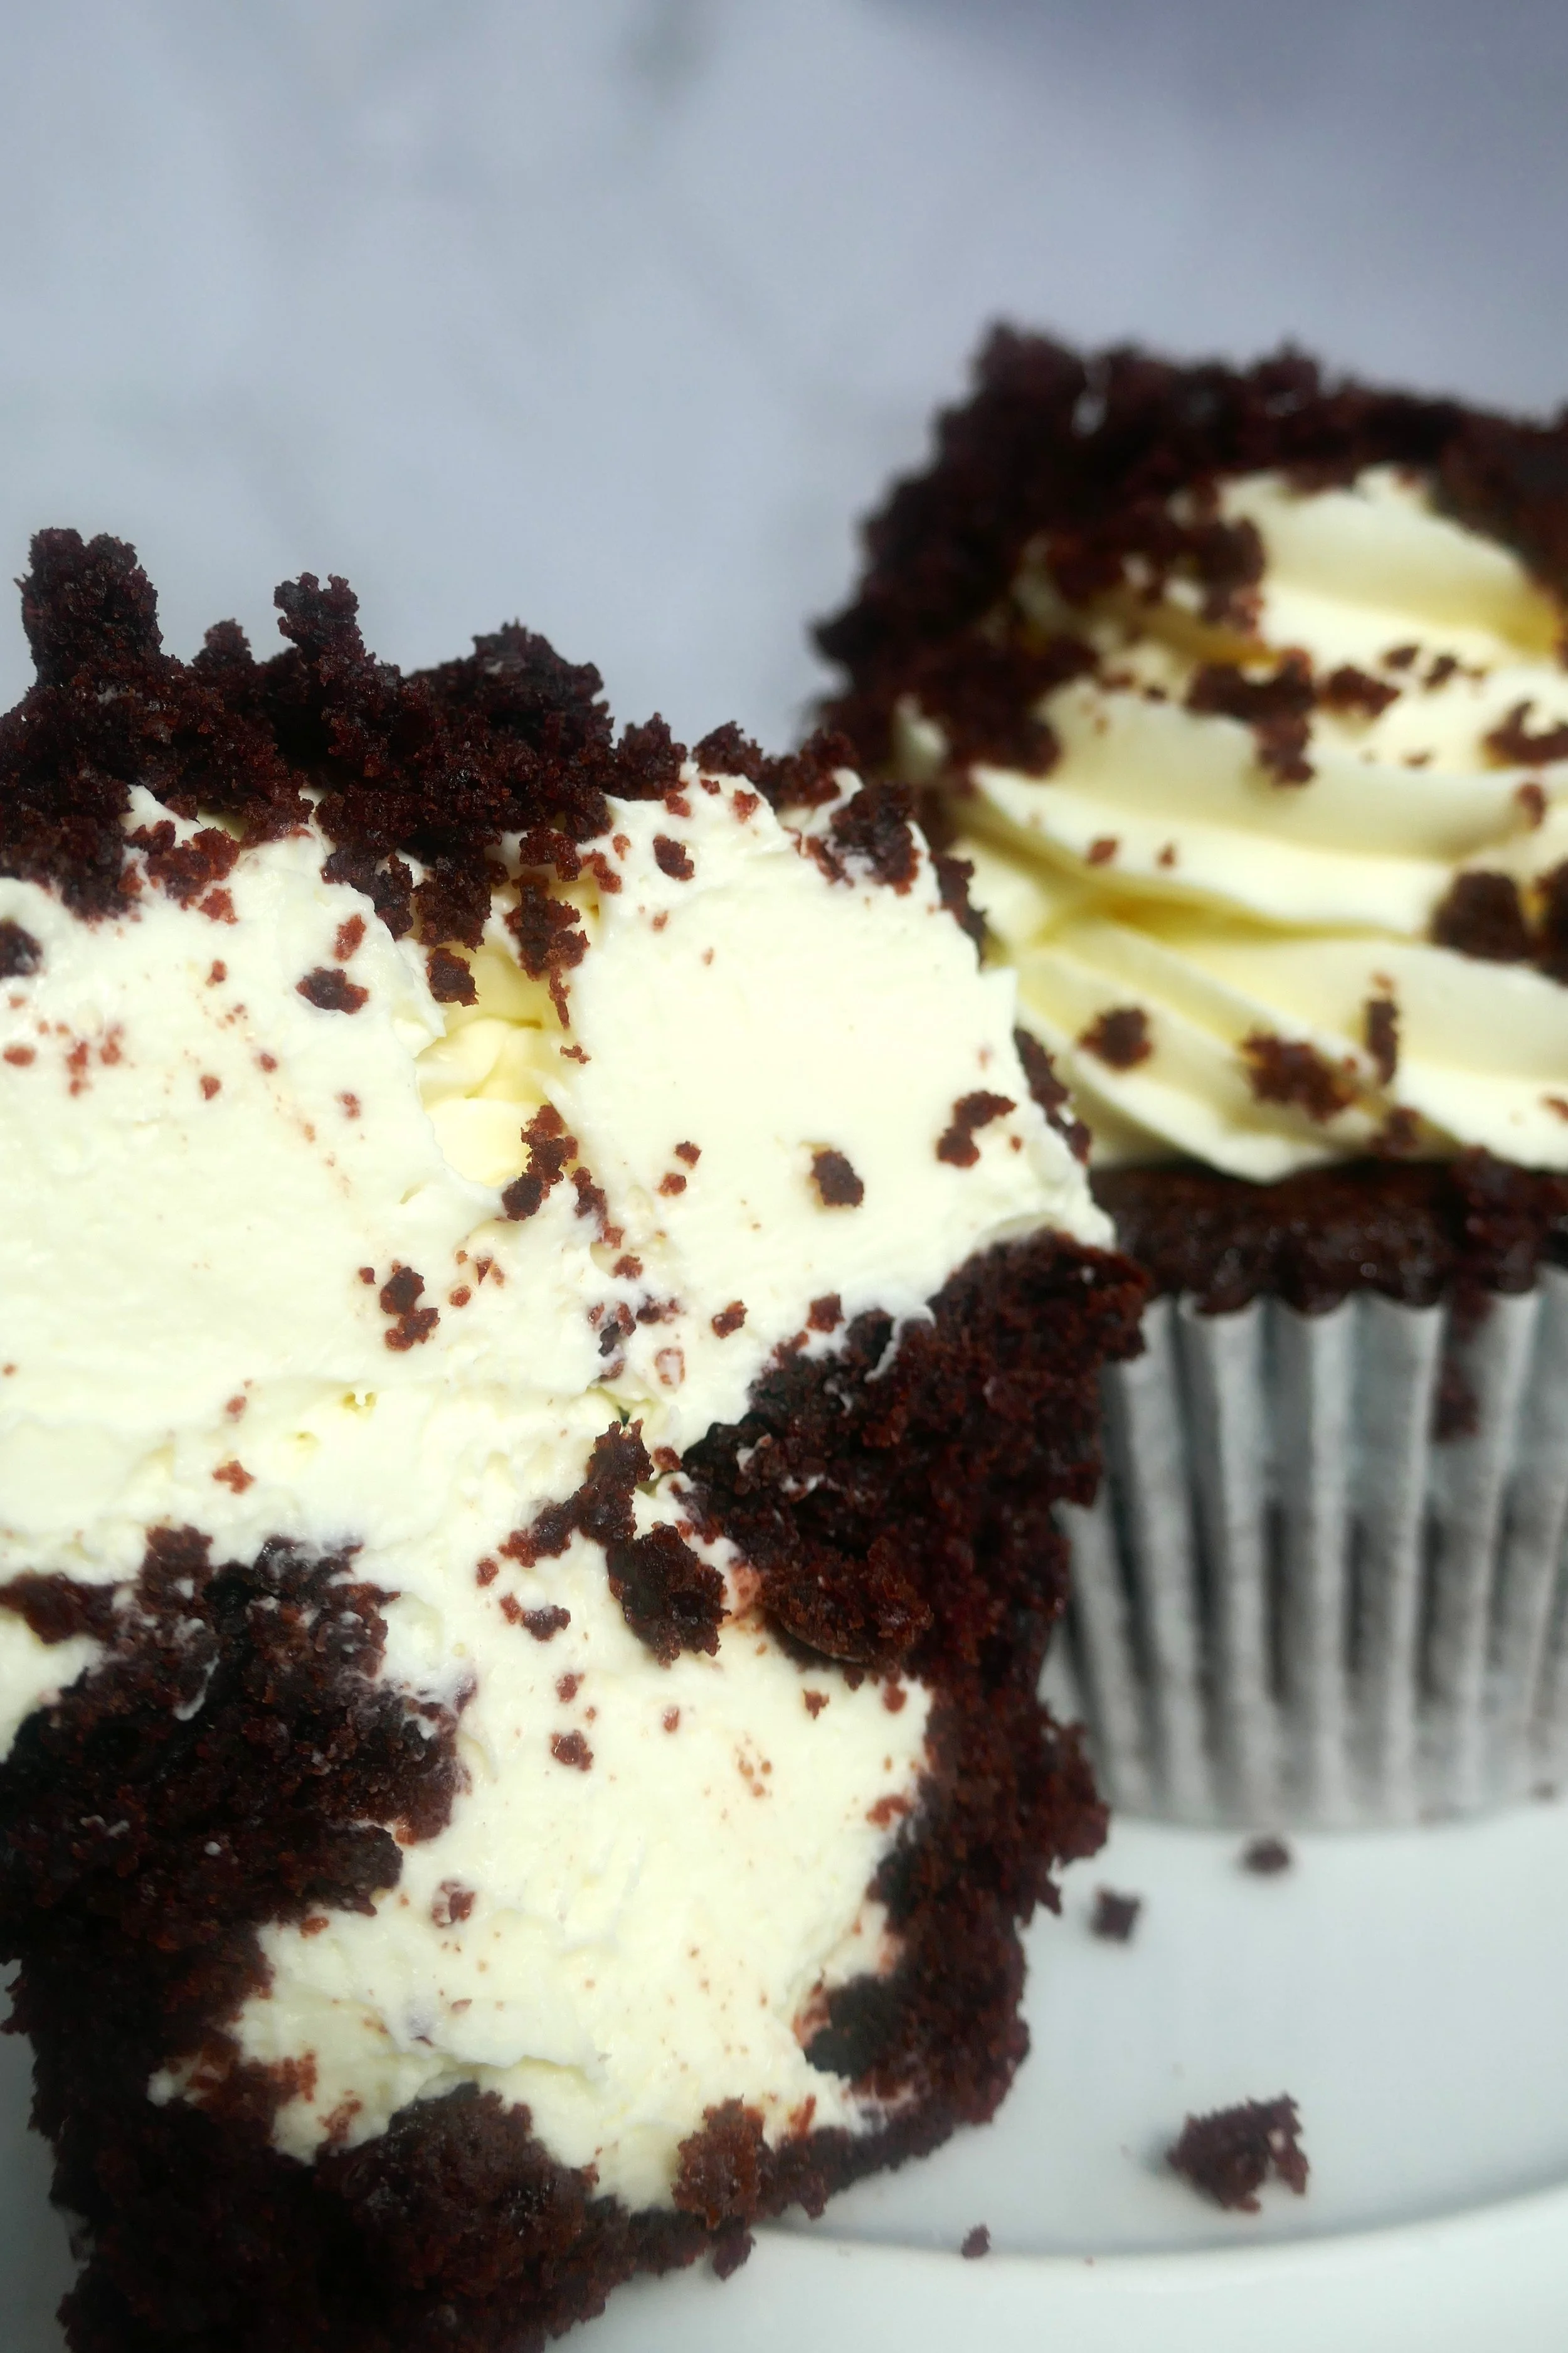
To Assemble: To create a four-layered red velvet cake, you will need to cut each baked and cooled sponge sheet in half (it doesn’t matter which way you halve your sponges as long as they’re both the same! Imagine!) Spread a think layer of the frosting and spread evenly toc over before piling up your sponges and trimming the edges straight. Left over frosting can be used as a decorative flourish once you’ve portioned up your cake, for those who love to pipe things on top of over things, this where you can really have fun.
